DIY "Get a Grip!" Project
- bfisher
- Oct 20, 2018
- 5 min read
Updated: Nov 17, 2018
Redesigning the handles of a can opener to be more ergonomic

Individual Project, 3 weeks
Key Skills
Sketching
CAD Models (Fusion 360)
Slicer for Fusion 360
Laser Cutting
Chavant Clay Sculpting
Experimentation and Iteration
This is the second project in my DIY Design & Fabrication class at Carnegie Mellon University. The task was to choose an existing product with a handle or grip in need of a redesign, identify how it fell short, and then sculpt an improvement in clay over a wooden model.
I started by thinking about different types of grips and objects that I would be likely to drop. Originally, I was looking at redesigning a bottle of body wash, as I found that the grip around the outside of the bottle was more aesthetic than functional whether my hands were wet or dry. I was planning on adding bumps around the side to replace the grooves, as depicted in the following sketches:

Types of grips and original concept for grip redesign
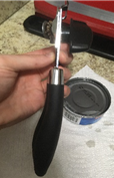
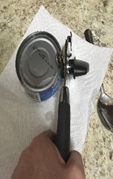
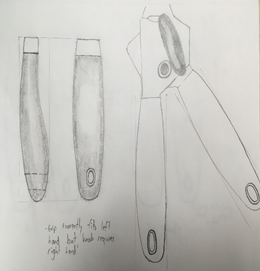
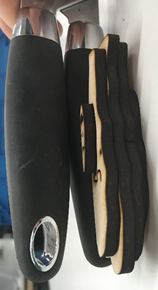
Later that week, I tried to open a can of tuna and noticed that the curvature of the can opener handles suggested that it would be a better fit for my right hand. This is the hand I typically hold the can opener in while I maneuver the can into position. However, when I actually use it, I have to switch hands so that my right hand can twist the knob. Despite the inherent asymmetry in the design, it is less comfortable to use my left hand to hold it. Either there is empty space between my hand and the handle or the top of my palm rubs against the side of the handle. Even if the blade and gear have fixed positions that force the user to hold the device a certain way, the handles can still be improved to make it more enjoyable.
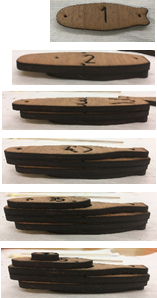
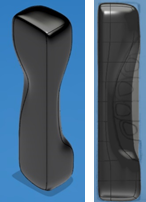
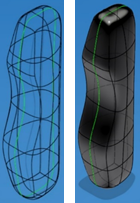
Initially, I planned to reverse the orientation of the grip and add grooves for my fingers. Prior to working with the clay, I thought that this would be the easiest way to combine grip ergonomics with simplicity. After modeling each handle, I used Slicer for Fusion 360 to split the models into 3/16" slices to be printed out with the laser cutter and covered in modeling clay. This process is shown below.
Moving from sketches to wooden skeleton
I ran into some difficulty making a geometrically accurate wooden skeleton. First, even though Slicer was able to keep the dimensions of the Fusion 360 model, the .dxf file that it created automatically resized itself regardless of the 1:1 scale that I chose in CorelDRAW. Furthermore, although I had set the custom material thickness to 3/16", the size of material I had available, the width of the stacked slices ended up being larger than anticipated, even when reprinting the second handle and changing a setting and repeating the bottom handle.
I solved the first issue by resizing the imported .dxf outlines once they were in CorelDRAW, knowing that I would cover the skeleton in clay anyway, so the exact dimensions were not critical. I addressed the second issue by removing similar slices that had effectively only added thickness to the model.
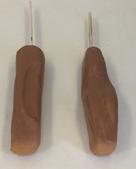
I discovered that as I worked with the clay, some of the original design intent was hard to keep. A lot of the exploration in ergonomic design was simply easier to iterate in clay compared to guessing with another drawing, printing out a base, and then covering it in clay. As I experimented, I found that while it was easy to trace the way that my fingers would grasp the handle and make handles specifically catered to my own use, it would be more appealing to use negative space to indicate to others how to hold the object. The progression of the models is shown below.
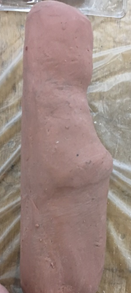
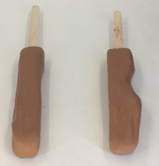
Progression of bottom handle, first version
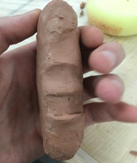
Iterations of bottom handles (left) and thumb handle (middle, right)
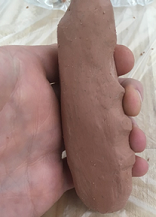
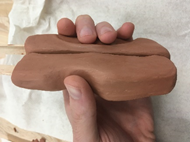
As I made the individual handles, I compared them to the original design, and tried to hold one handle from the original with the other handle in clay. A can opener is difficult to design a grip for because the orientation of the grip changes during use, unlike for a pot or a dustpan. It was awkward to hold only one handle with the side of my hand, knowing that I would normally be able to rest my thumb on the other handle. Although the scope of the project was limited to redesigning the handles, my intent was to use Popsicle sticks to connect them and make a quick version of the joint that provides the opening and closing motion.

Intended grip of bottom handle, design in progress
The clay modeling presented a number of challenges. First, while Chavant clay remains soft enough that I could revisit the same handle on a later day, simply gripping the handle to see if I liked the design was enough to change the shape. Getting a smooth surface was surprisingly difficult, and while I made improvements with the tools, it often seemed that sliding my thumb was just as effective. I had to smooth out surfaces repeatedly after putting the model down to work on a different face.
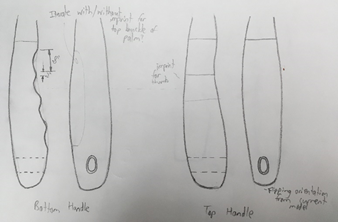
The final design made use of more abstract negative space over finger imprints. While this did cause some confusion by some users, I think that this can be attributed to a lack of designing the top of the can opener, which provides clear cues for choosing the right direction given the asymmetry of the blade and twisting knob.
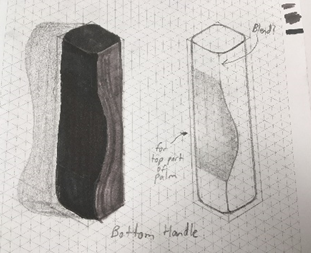
Final design sketches and models
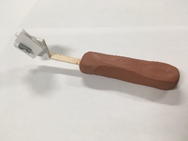
The scope of the project was about the handle only, although I did want to have some semblance of an open-and-close motion to provide more context. This was actually the most challenging consideration, as I needed the thumb grip to be comfortable when separating the handles while making the pair comfortable when squeezing together, and yet the iterative nature of the design made it inconvenient to put a pair together and "freeze" the dimensions. Once I was satisfied with the clay models, I made a makeshift joint with a screw, T-slot nut, and two pieces of foam core.
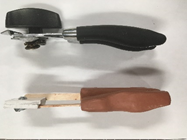
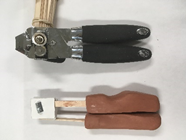
Final concept clay model and assembly
The pair of handles that I used for the final product ended up being more comfortable to me, although I did have a few users find that they liked the original grip as well, even if they were right-handed. The design could certainly be improved in future iterations, especially with respect to forming the clay, smoothing it, and providing symmetry between the two handles only where intended. Still, for having never worked with the tools prior to this project, I was happy with the improvements that I made from the first working session to the last one.


















Comments